
Designing a Contrast Therapy Room in New Construction
Designing a Contrast Therapy Room in New Construction
Contrast therapy is the practice of alternating heat and cold in a planned cycle—most often a sauna or hot soak, then a cold plunge, ice bath, or cold shower, then a rest period. The heat phase widens blood vessels and raises skin and muscle temperature. The cold phase constricts vessels and drops temperature quickly. Repeating that swing is meant to boost circulation, reduce perceived soreness after training, and create a sharp reset. People also use it for recovery, alertness, and a structured wellness ritual at home.
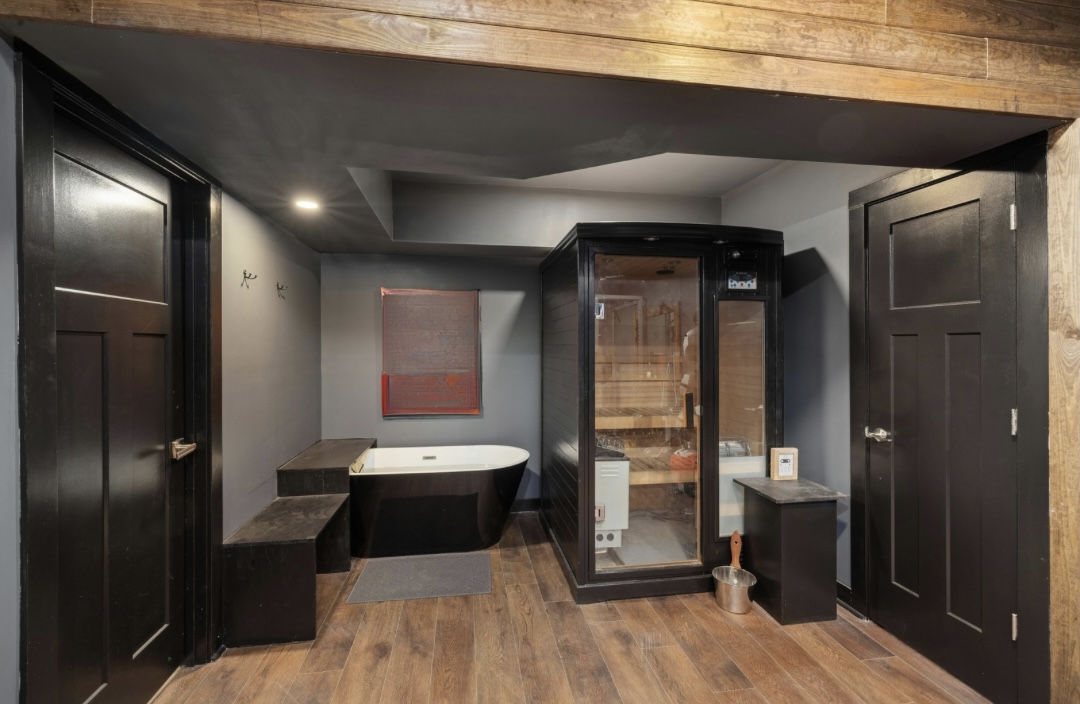
A typical session is several minutes in the sauna, a short cold plunge, then rest and rehydration—sometimes repeated. Duration, temperature, and rounds vary by tolerance and goals. It is not the same as only using a sauna or only taking cold showers. The contrast is the point.
Contrast therapy is not a medical treatment for everyone. People with heart conditions, blood-pressure issues, or other health concerns should check with a clinician before using extreme heat and cold. In a home room, the design goal is to make that sequence safe and easy: heat nearby, cold nearby, non-slip wet flooring, and a dry place to recover.
Recommended equipment
Designers can specify a short list and still get a working room:
- A standalone traditional or infrared sauna on a dedicated circuit, with manufacturer clearances left open.
- A cold plunge with a chiller, a reachable drain, and service access for filtration and sanitation.
- Water-resistant, slip-resistant flooring on the wet path between sauna, plunge, and shower.
- A dry rest spot outside the splash zone, with robe storage and dimmable light.
Designing the room in a new home
Contrast therapy works best when heat, cold, and rest sit in one planned sequence—not when a sauna and plunge are dropped into leftover space. In new construction, plumbing, power, drainage, and ventilation can be tied in before finishes go in. That is the difference between a daily inspiring ritual and a high-maintenance add-on.
Start with the path of use. Put the cold plunge close enough for a short walk between heat and cold, with service access for chillers, filtration, and sanitation. Each brand has different access requirements, so check the owner’s manual or contact Roombldr. Leave at least 36 inches in front of the tub entry and exit. Cold and heat can cause dizziness, and users need room to step out safely.
When you can, build the plunge into the home
Hard-plumbing it is about convenience, cleanliness, and how the room is used. “Build in” usually means:
- A dedicated fill line, often a hose bib or rough-in valve near the tub, instead of dragging a garden hose across the room.
- The tub’s drain outlet piped to a floor drain, standpipe, or indirect waste receptor—not a sealed connection into a sanitary line if code wants an air gap.
- A nearby shutoff, a floor drain, and a waterproofed floor with a slight slope.
- A plunge with a built-in chiller, which takes less floor space than a separate unit.
- If possible, place the plunge and sauna so users can see the room entrance.
Tying it into the home has a few practical benefits. A full plunge is on the order of 120–150 gallons. A gravity drain through a short hose works, but it is slow and messy if the hose end is not parked in a drain. A fixed drain path means you open a valve and walk away. Manufacturer guidance already calls for a floor drain and a waterproof surface because fill and drain splash. In a spec home or finished wellness room, dragging a hose through the space every month does not feel like a fixture. “Open fill valve, open drain valve, refill to the inlet” is a checklist. Hose-and-bucket is not.
Like a bathtub, a built-in plunge can often be financed with the house, but only if it is specified early, permitted, and supported by the appraisal. Check with the mortgage company. Still leave access to the drain cap or valve, inlet and outlet plugs, and chiller for service.
Standalone or built-in saunas
Standalone saunas are usually the better call in new construction. They arrive as tested, warrantied units with known electrical, ventilation, and clearance requirements, so they install faster and with less framing, waterproofing, and inspection risk than a custom built-in. The electrician, HVAC contractor, and inspector work from a product sheet instead of improvising a hot, wet box inside the house envelope. Heat-up time, door swing, and bench layout are known before framing, and the unit is easier to service or replace later.
*Pro tip: panel around a stand-alone sauna to give it a built-in look
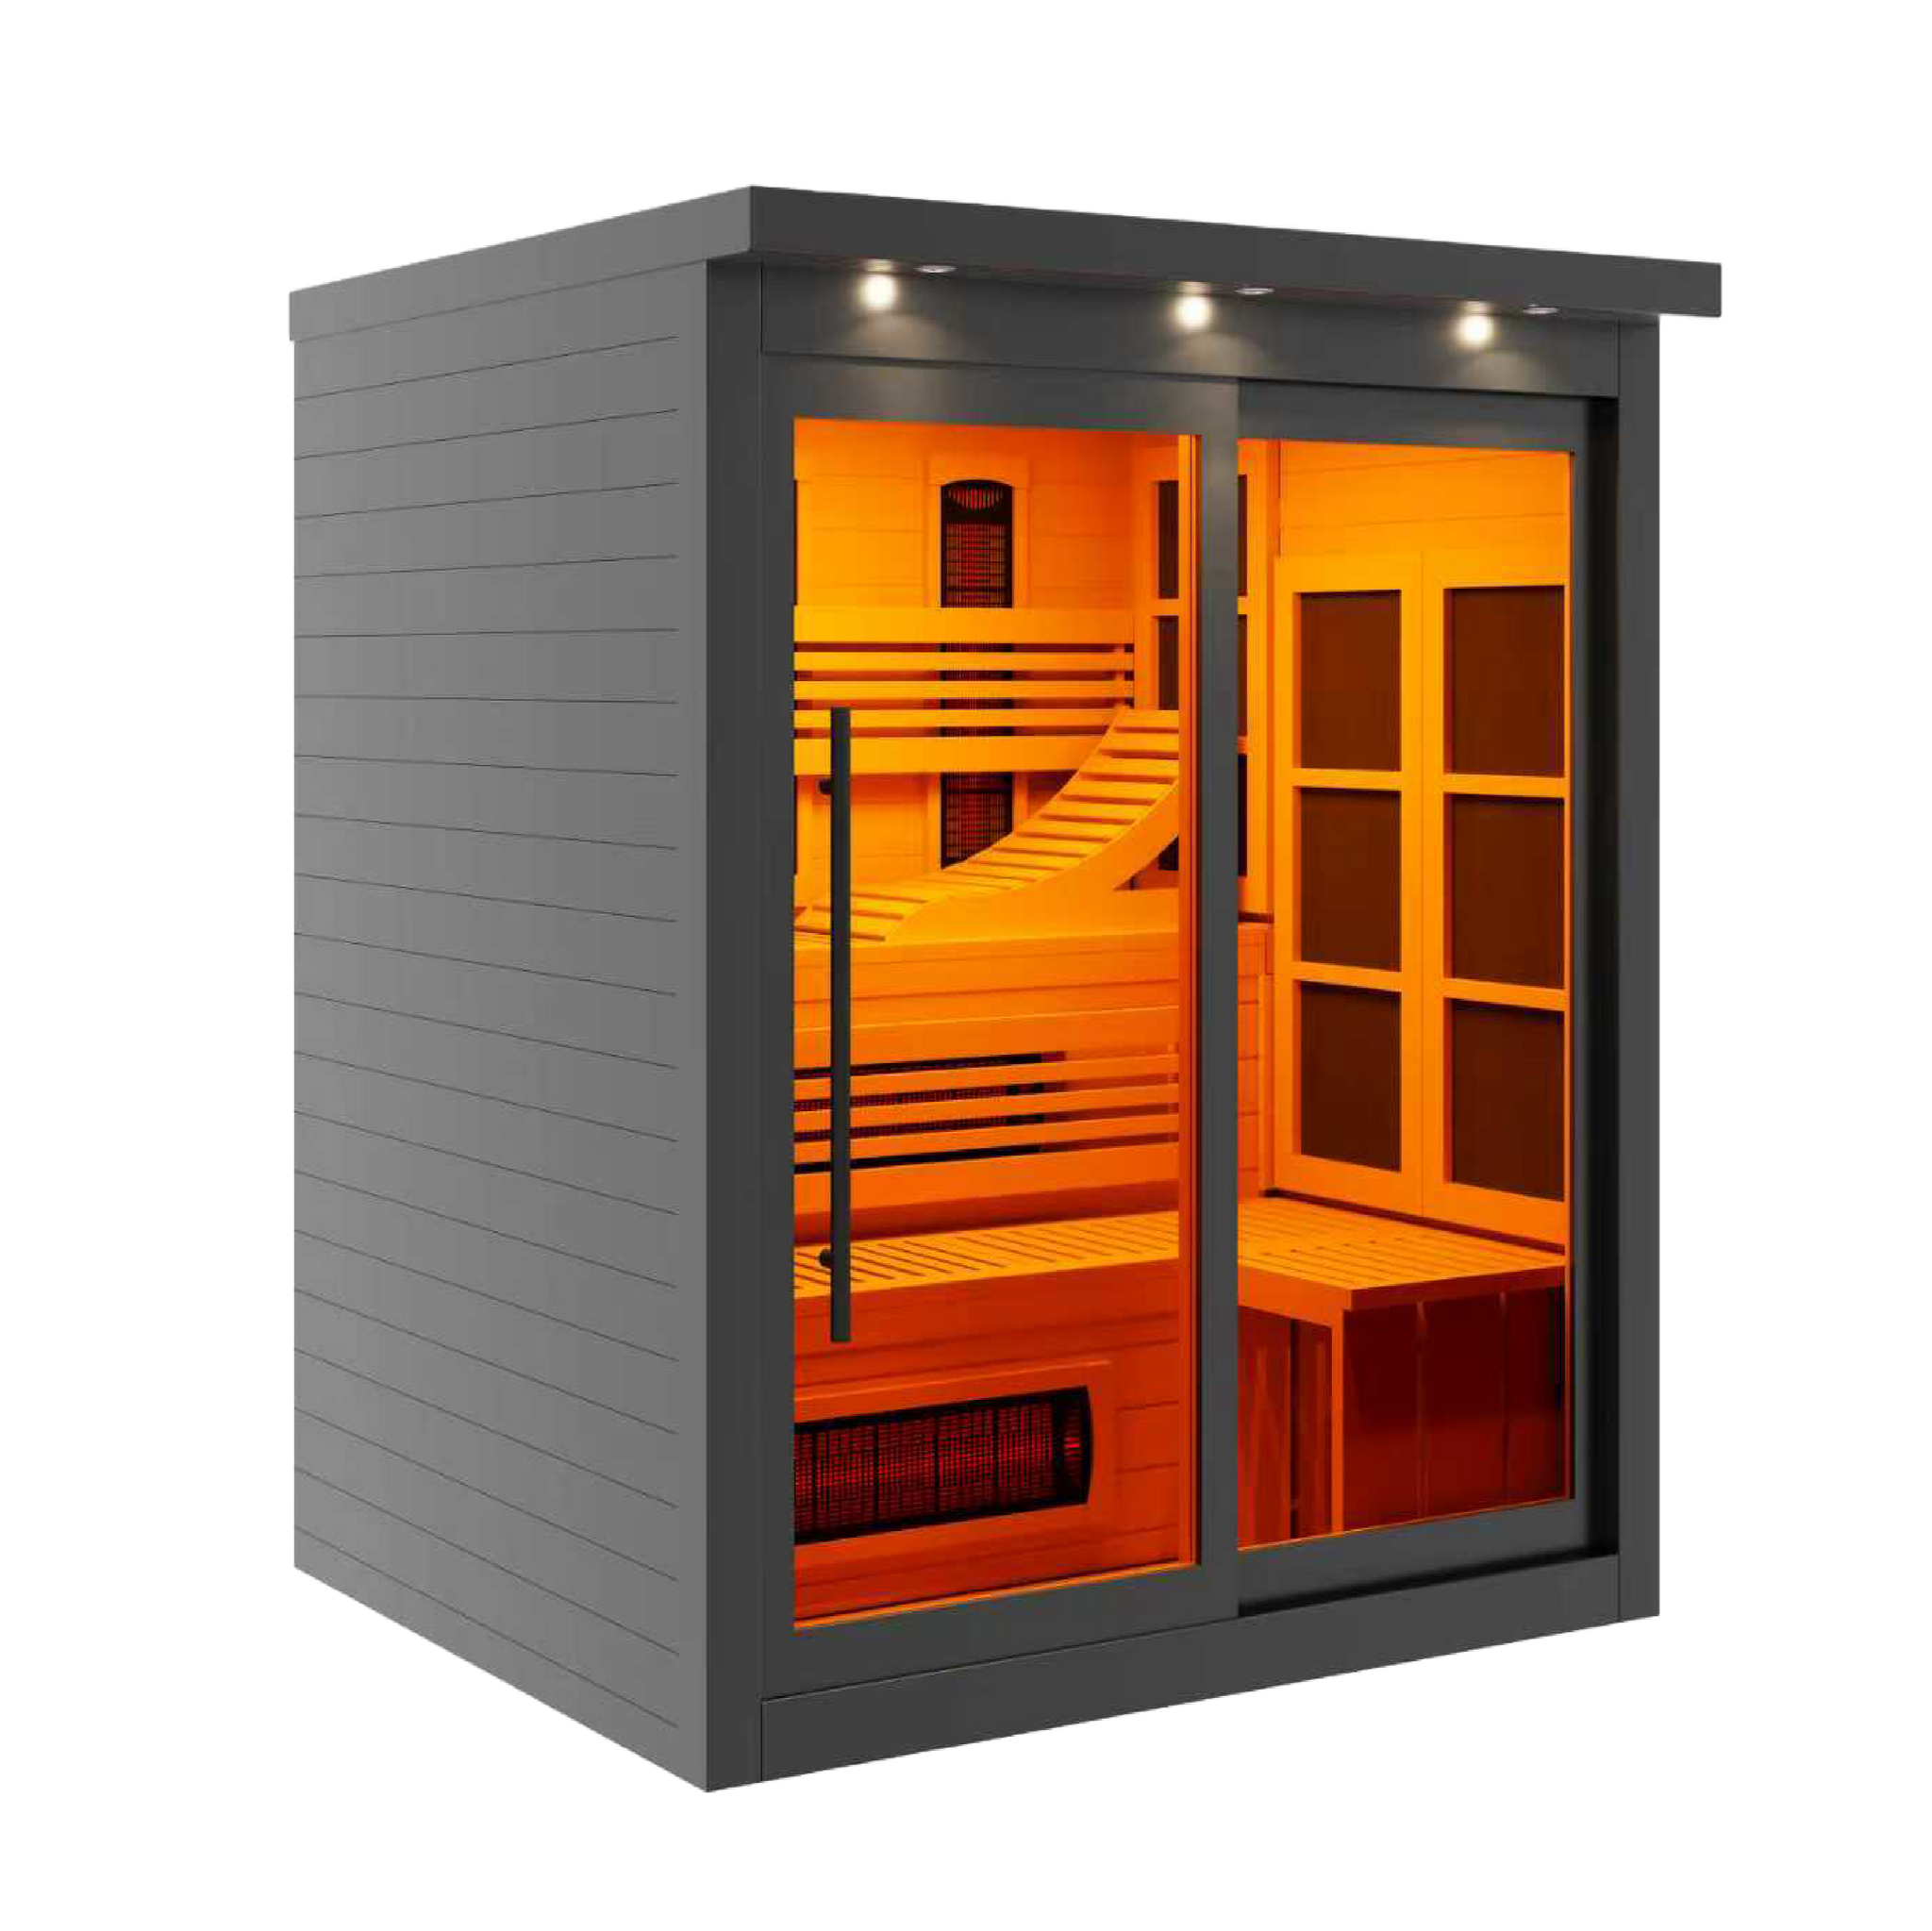
***New 2026 Model*** Golden Designs 6 Person Black Full Spectrum Near Zero EMF FAR IR Sauna (GDI-6996-03-FS)
A built-in can still win when the plan is tight and the client wants the cabin to read as architecture. It also ties the sauna to custom waterproofing, vapor control, and wood detailing that must perform for years next to a cold plunge. If those details fail, the homeowner is repairing the room, not swapping a part. In most new homes, reliability matters more than a fully tiled custom cabin. The ritual gets used only if the heat source stays simple to install, dry out, and maintain.
Water-resistant flooring
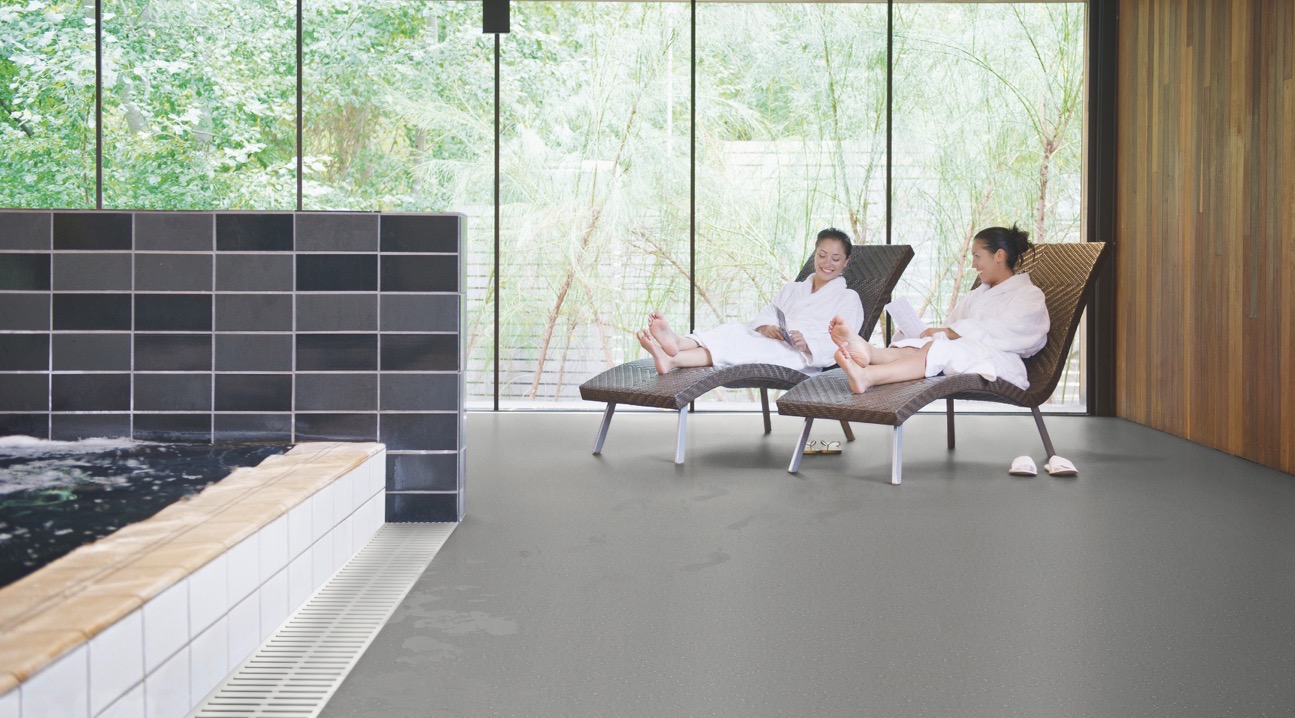
Water-resistant flooring matters because sauna runoff, plunge splash, and wet feet hit the floor every session. A surface that absorbs water can swell, slip, or grow mold. A high-friction wet-area floor keeps the heat-to-cold path safe and easy to sanitize.
Click for spec sheet
HydroGrip Motivate from Ecore Athletic is a strong choice for wet circulation around the plunge, shower, and transition path. It pairs a 2mm slip-resistant vinyl wear layer with a 5mm vulcanized composition rubber base (7mm total), fusion-bonded for a hygienic, heat-weldable install. The surface keeps a high coefficient of friction when wet, stays comfortable underfoot, resists scuffs, and is easy to sanitize. It is commercial grade and used in high-traffic facilities, which makes it a durable choice in a home.
The dry recovery zone
After heat and cold, users need a place that is not in the splash path. Keep this zone dry: a bench or lounge chair, robe and towel storage, a spot for water, and dimmable light at a warm color temperature. It does not need to be large. It does need to feel quieter than the wet core, so the sequence ends in rest instead of a wet floor.
Conclusion
A contrast therapy room works best if it is designed as a sequence. Plan the sauna, plunge, shower, and dry recovery zone as one path, then lock plumbing, power, drainage, and ventilation into the new-construction drawings so those spaces look built in, not retrofitted later. Specify a standalone sauna on a dedicated circuit, a plunge with a chiller and a reachable drain, water-resistant slip-resistant flooring on the wet path, and a dry rest spot outside the splash. Done that way, the room becomes a durable part of the house.
This article is a general outline to help guide planning. Consult your general contractor, plumber, electrician, and each product’s owner’s manual for project-specific requirements.